DIY Shower Head Replacement: Enhance Water Pressure and Save Money
DIY Shower Head Replacement: Enhance Water Pressure and Save Money
Enhancing your bathroom’s functionality and aesthetic appeal can be as simple as replacing your shower head. This straightforward DIY project not only revitalizes your space but also improves water flow, providing a more enjoyable bathing experience. Opting for a shower head with the EPA’s WaterSense label further allows you to conserve water and reduce utility bills.
Benefits of Installing a New Shower Head
- Improved Water Efficiency: WaterSense-labeled shower heads use at least 20% less water than standard models without sacrificing performance. This efficiency can lead to significant water and energy savings.
- Cost Savings: By reducing water usage, you lower your utility bills. The average family can save up to 2,900 gallons of water annually by installing WaterSense-labeled shower heads.
- Enhanced Shower Experience: Modern shower heads offer improved water pressure and various spray settings, enhancing your daily routine.
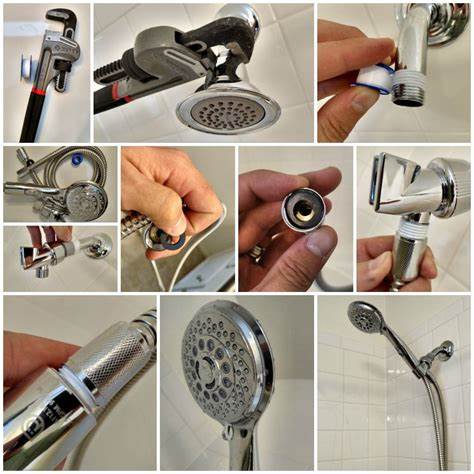
Step-by-Step Guide to Replacing Your Shower Head
Tools and Materials Needed:
- Adjustable wrench or pliers
- Plumber’s tape (Teflon tape)
- New shower head
- Soft cloth or towel
Instructions:
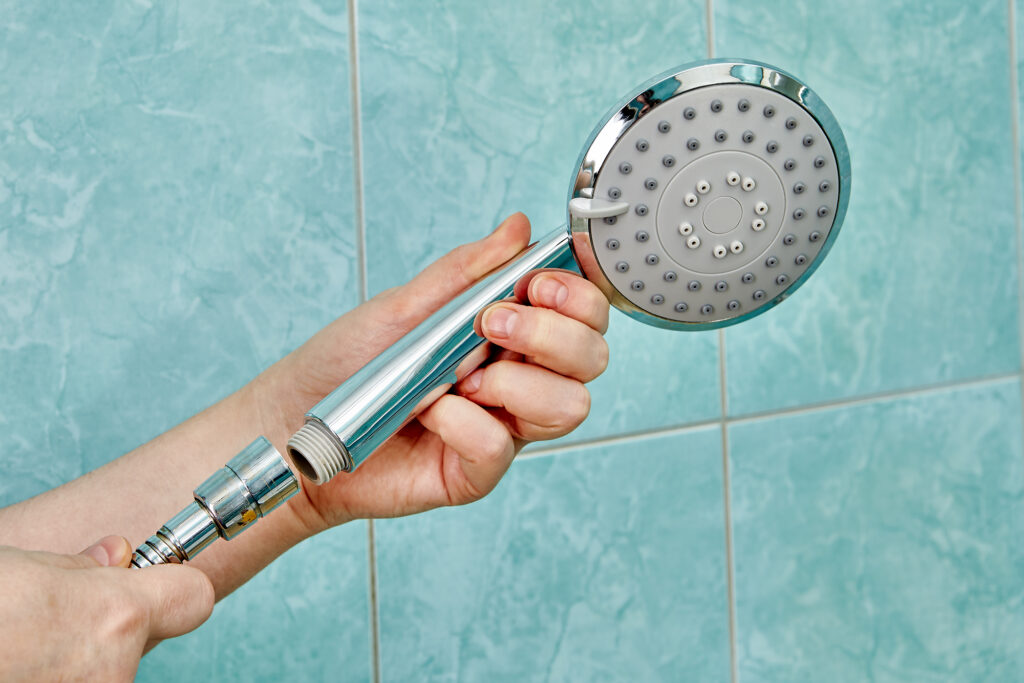
- Remove the Old Shower Head:
- Turn the existing shower head counterclockwise by hand. If it’s tight, use an adjustable wrench or pliers, placing a soft cloth between the tool and the shower arm to prevent scratching.
- Clean the Shower Arm Threads:
- Once the old shower head is removed, wipe the threads of the shower arm with a soft cloth to remove any debris or old plumber’s tape.
- Apply Plumber’s Tape:
- Wrap plumber’s tape clockwise around the threads of the shower arm two to three times. This ensures a tight seal and prevents leaks.
- Install the New Shower Head:
- Screw the new shower head onto the shower arm by turning it clockwise. Hand-tighten it firmly. If necessary, use an adjustable wrench, ensuring you protect the finish with a soft cloth. Avoid over-tightening, as it can damage the fixture.
- Test for Leaks:
- Turn on the water and check for leaks at the connection. If you notice any, gently tighten the shower head a bit more.
Tips for a Successful Update
When selecting a new shower head, look for the WaterSense label. Products with this certification meet the EPA’s criteria for water efficiency and performance, ensuring a satisfying shower experience while conserving water.
Replacing your shower head is a quick and cost-effective way to upgrade your bathroom. By choosing a WaterSense-labeled model, you not only enhance your shower experience but also contribute to water conservation and reduce your utility expenses