Step-by-Step Guide: How to Prepare, Cut, and Apply Wall Tiles for a Perfect Finish
Did you know there is a quick and easy way to transform the look of your kitchen or bathroom that doesn’t require a ton of money or skill? With peel-and-stick backsplash, installing a new backsplash tile has never been easier. It is the perfect at-home DIY project for any day and can completely transform the look of your room. There are so many options to choose from, the hardest part will be choosing your favorite! This can easily be done in one day and your space will have never looked better. Here is all the steps you need to do it yourself!
Step 1: Prepare the Wall
Start by cleaning the wall with a wall cleaner and a cloth. Ensure the wall is completely dry before proceeding. Use a pencil and ruler to mark the placement of each tile for precise alignment.
Step 2: Cut the Tiles
For tiles with interlocking edges, use a box cutter and ruler to make straight cuts on a cutting mat. This will help align the first tile to the wall. A box cutter can also be used to cut holes or other shapes in the tiles as needed.
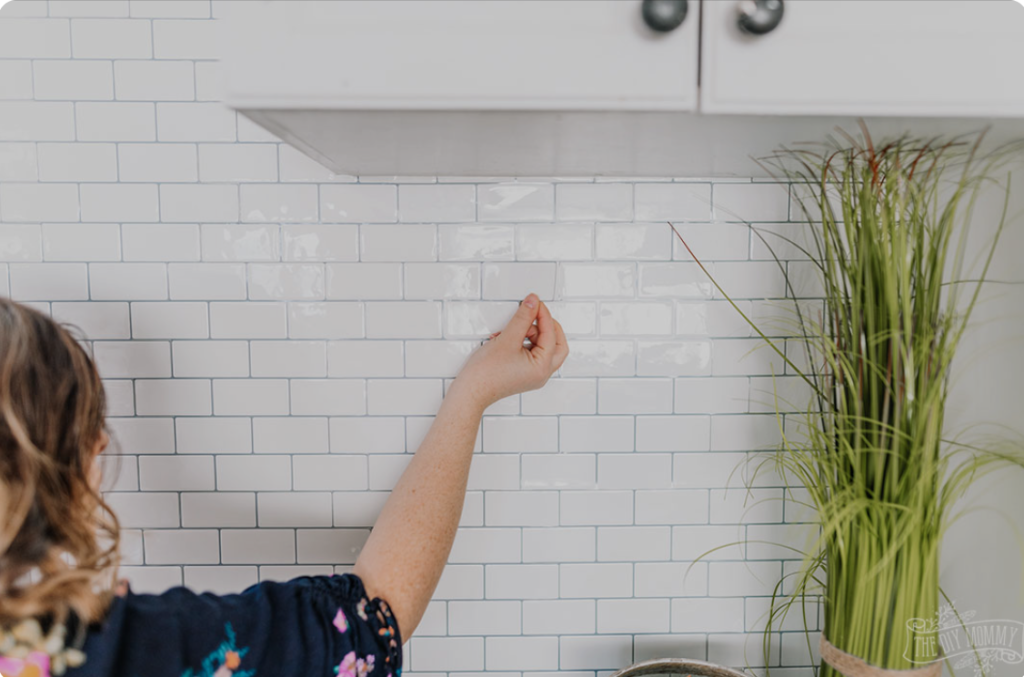
Step 3: Apply the Tiles
Begin at a designated starting point on the wall and work your way from the bottom up. Peel off about one-third to half of the protective backing and press the tile firmly onto the wall to remove air bubbles. Use a credit card or plastic smoother for better adhesion. Ensure overlapping tiles align properly for even spacing, and leave a small gap if you plan to add a grout line.
Step 4: Finish
Once the tile is correctly positioned, remove the remaining protective backing. Use a roller to firmly bond the tile to the wall.
Source: Wayfair