A Step By Step Guide to Updating Cabinet Hardware
Transform Your Space: A Guide to Updating Cabinet Hardware
Upgrading your cabinet hardware is a simple yet impactful way to rejuvenate the look of your kitchen, bathroom, or any room with cabinetry. Replacing outdated or worn-out knobs and pulls can enhance both the appearance and functionality of your cabinets. This guide will walk you through selecting and installing new cabinet hardware to achieve a fresh, modern look.
Choosing the Right Cabinet Hardware
- Style and Finish: Select hardware that complements your existing decor. Consider the style (modern, traditional, rustic) and finish (brushed nickel, chrome, brass, matte black) that will best enhance your space. Mixing metals can add visual interest, but it’s advisable to limit the palette to two finishes to maintain cohesion. bella-tucker.com
- Size and Proportion: Ensure the size of the knobs or pulls is proportionate to your cabinet doors and drawers. Oversized hardware can overwhelm small cabinets, while too-small pieces may not provide adequate functionality.
- Center-to-Center Measurement: When replacing pulls, measure the distance between the centers of the existing screw holes (center-to-center measurement). Choosing new pulls with the same measurement allows for easy installation without drilling new holes.
Installing New Cabinet Hardware
Tools Needed:
- Screwdriver
- Measuring tape
- Drill with appropriate drill bits
- Hardware installation template or jig (optional)
- Painter’s tape
- Pencil
Steps:
- Remove Existing Hardware: Use a screwdriver to remove old knobs or pulls. If you’re replacing pulls with a different center-to-center measurement, fill the old holes with wood filler, let it dry, and sand smooth. Touch up with matching paint or stain if necessary.
- Mark Drill Holes:
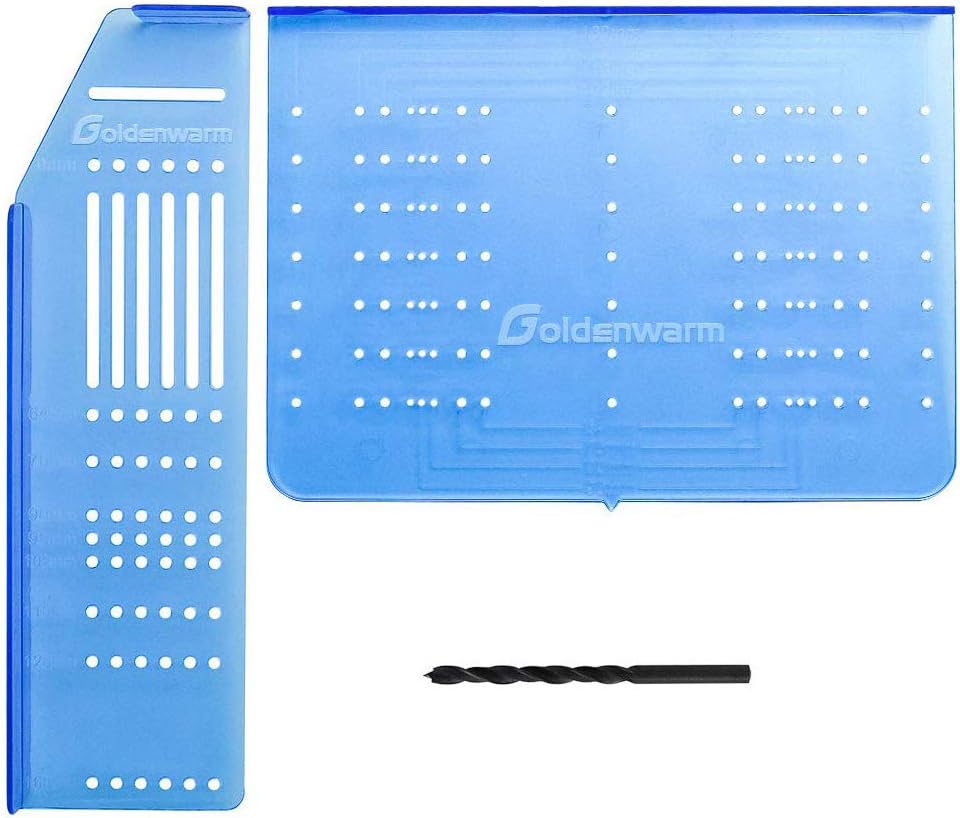
- Using a Template: A hardware installation template ensures consistent placement. Align the template with the edge of the cabinet door or drawer front, and mark the screw hole locations with a pencil.
- Without a Template: Apply painter’s tape to the area where you’ll drill (this helps prevent wood splintering). Measure and mark the desired location for the hardware, ensuring uniformity across all cabinets.
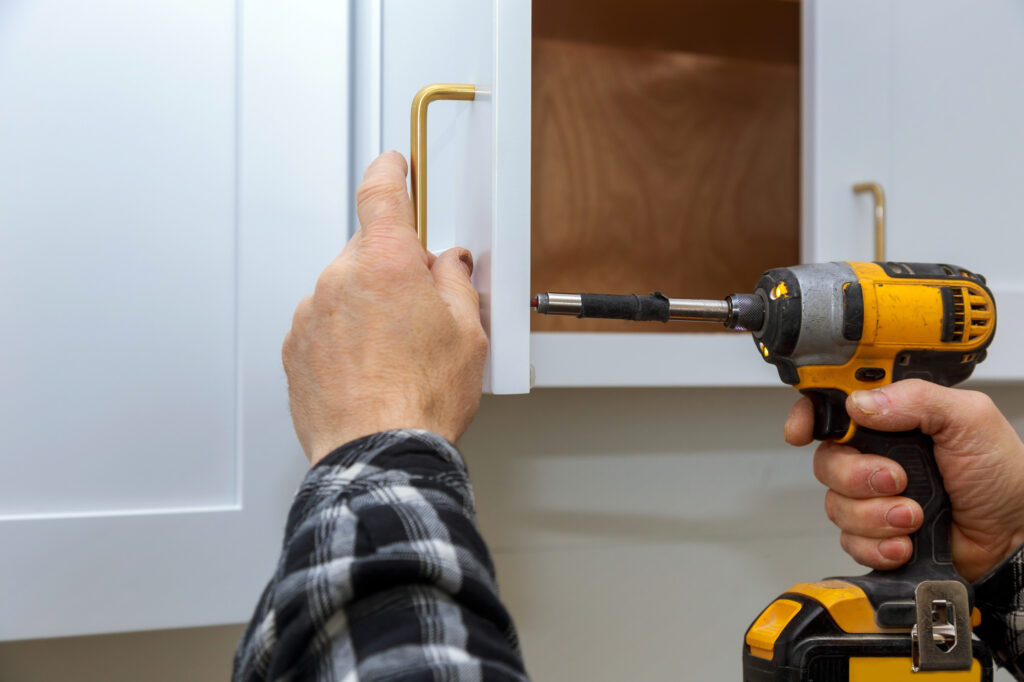
- Drill New Holes: Using the appropriate drill bit size for your screws (typically 3/16-inch), drill straight through the marked points. Drilling at a consistent angle ensures the hardware sits flush.
- Attach New Hardware: Insert the screws through the backside of the drawer or cabinet door, align the new knob or pull, and tighten using a screwdriver. Avoid over-tightening, as it can damage the cabinet surface.
Tips for a Successful Update
- Consistency: Ensure all hardware is installed at a consistent height and distance from edges to achieve a cohesive look.
- Test Before Drilling: Before drilling, hold the hardware in place to visualize its appearance and feel. This can prevent unnecessary holes and ensure satisfaction with placement.
- Consider Templates: While not mandatory, hardware installation templates can simplify the process and improve accuracy, especially for beginners.
By thoughtfully selecting and installing new cabinet hardware, you can transform your space with minimal effort and expense. This DIY project not only enhances aesthetics but also adds value to your home.![]()